LED Light Therapy - Why You Want It

What is LED Light Therapy? 

Low-level light therapy, also known as photobiostimulation, is the application of light energy to the body to obtain therapeutic benefits. The treatment is for all skin types, and is non-invasive, painless, and requires absolutely no downtime. 

How does LED Light Therapy work?

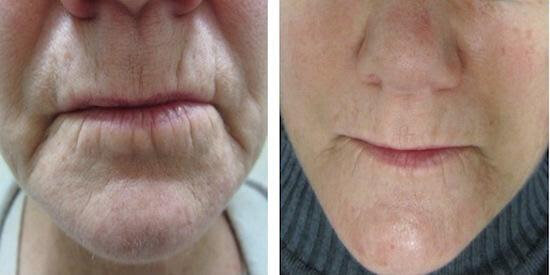
Red and near-infrared wavelengths are utilized in the LED light therapy devices to combat the signs of aging. These specific wavelengths of light energy are clinically verified to enhance your body's natural ability to generate collagen and elastin by activating the fibroblast cells. This reaction in the cells triggered by the red light, supports skin rejuvenation and boosts smoothness, elasticity, and appearance. 

While red light stimulates collagen and helps promote elasticity, blue light is designed to target blemishes and prevent breakouts. Blue LED light, especially in combination with red light therapy, triggers a natural response in human tissue, killing acne-causing bacteria, decreasing inflammation, and improving skin tone, texture, and clarity from the inside out. 

What are the benefits? 

  • Skin rejuvenation 

  • Reduction of wrinkles and fine lines

  • Decrease in inflammation

  • Improve skin tone and texture

  • Decrease and prevent acne breakouts

  • Increase lymphatic system activity

Is LED Light Therapy right for me?

The treatment is for all skin types and is completely painless. Clinical studies have shown this therapy was well-tolerated by all patients with no adverse effects.

Is there anyone LED Light Therapy isn’t right for?

If you are taking photosensitive medication or have epilepsy, LED light therapy is not recommended. If you are pregnant or breastfeeding, the LED light should not be placed over the stomach or breasts. The LED light should not be placed over a cancer site. 

All clients will complete an intake form to disclose any applicable medical conditions that may be contraindicated. 

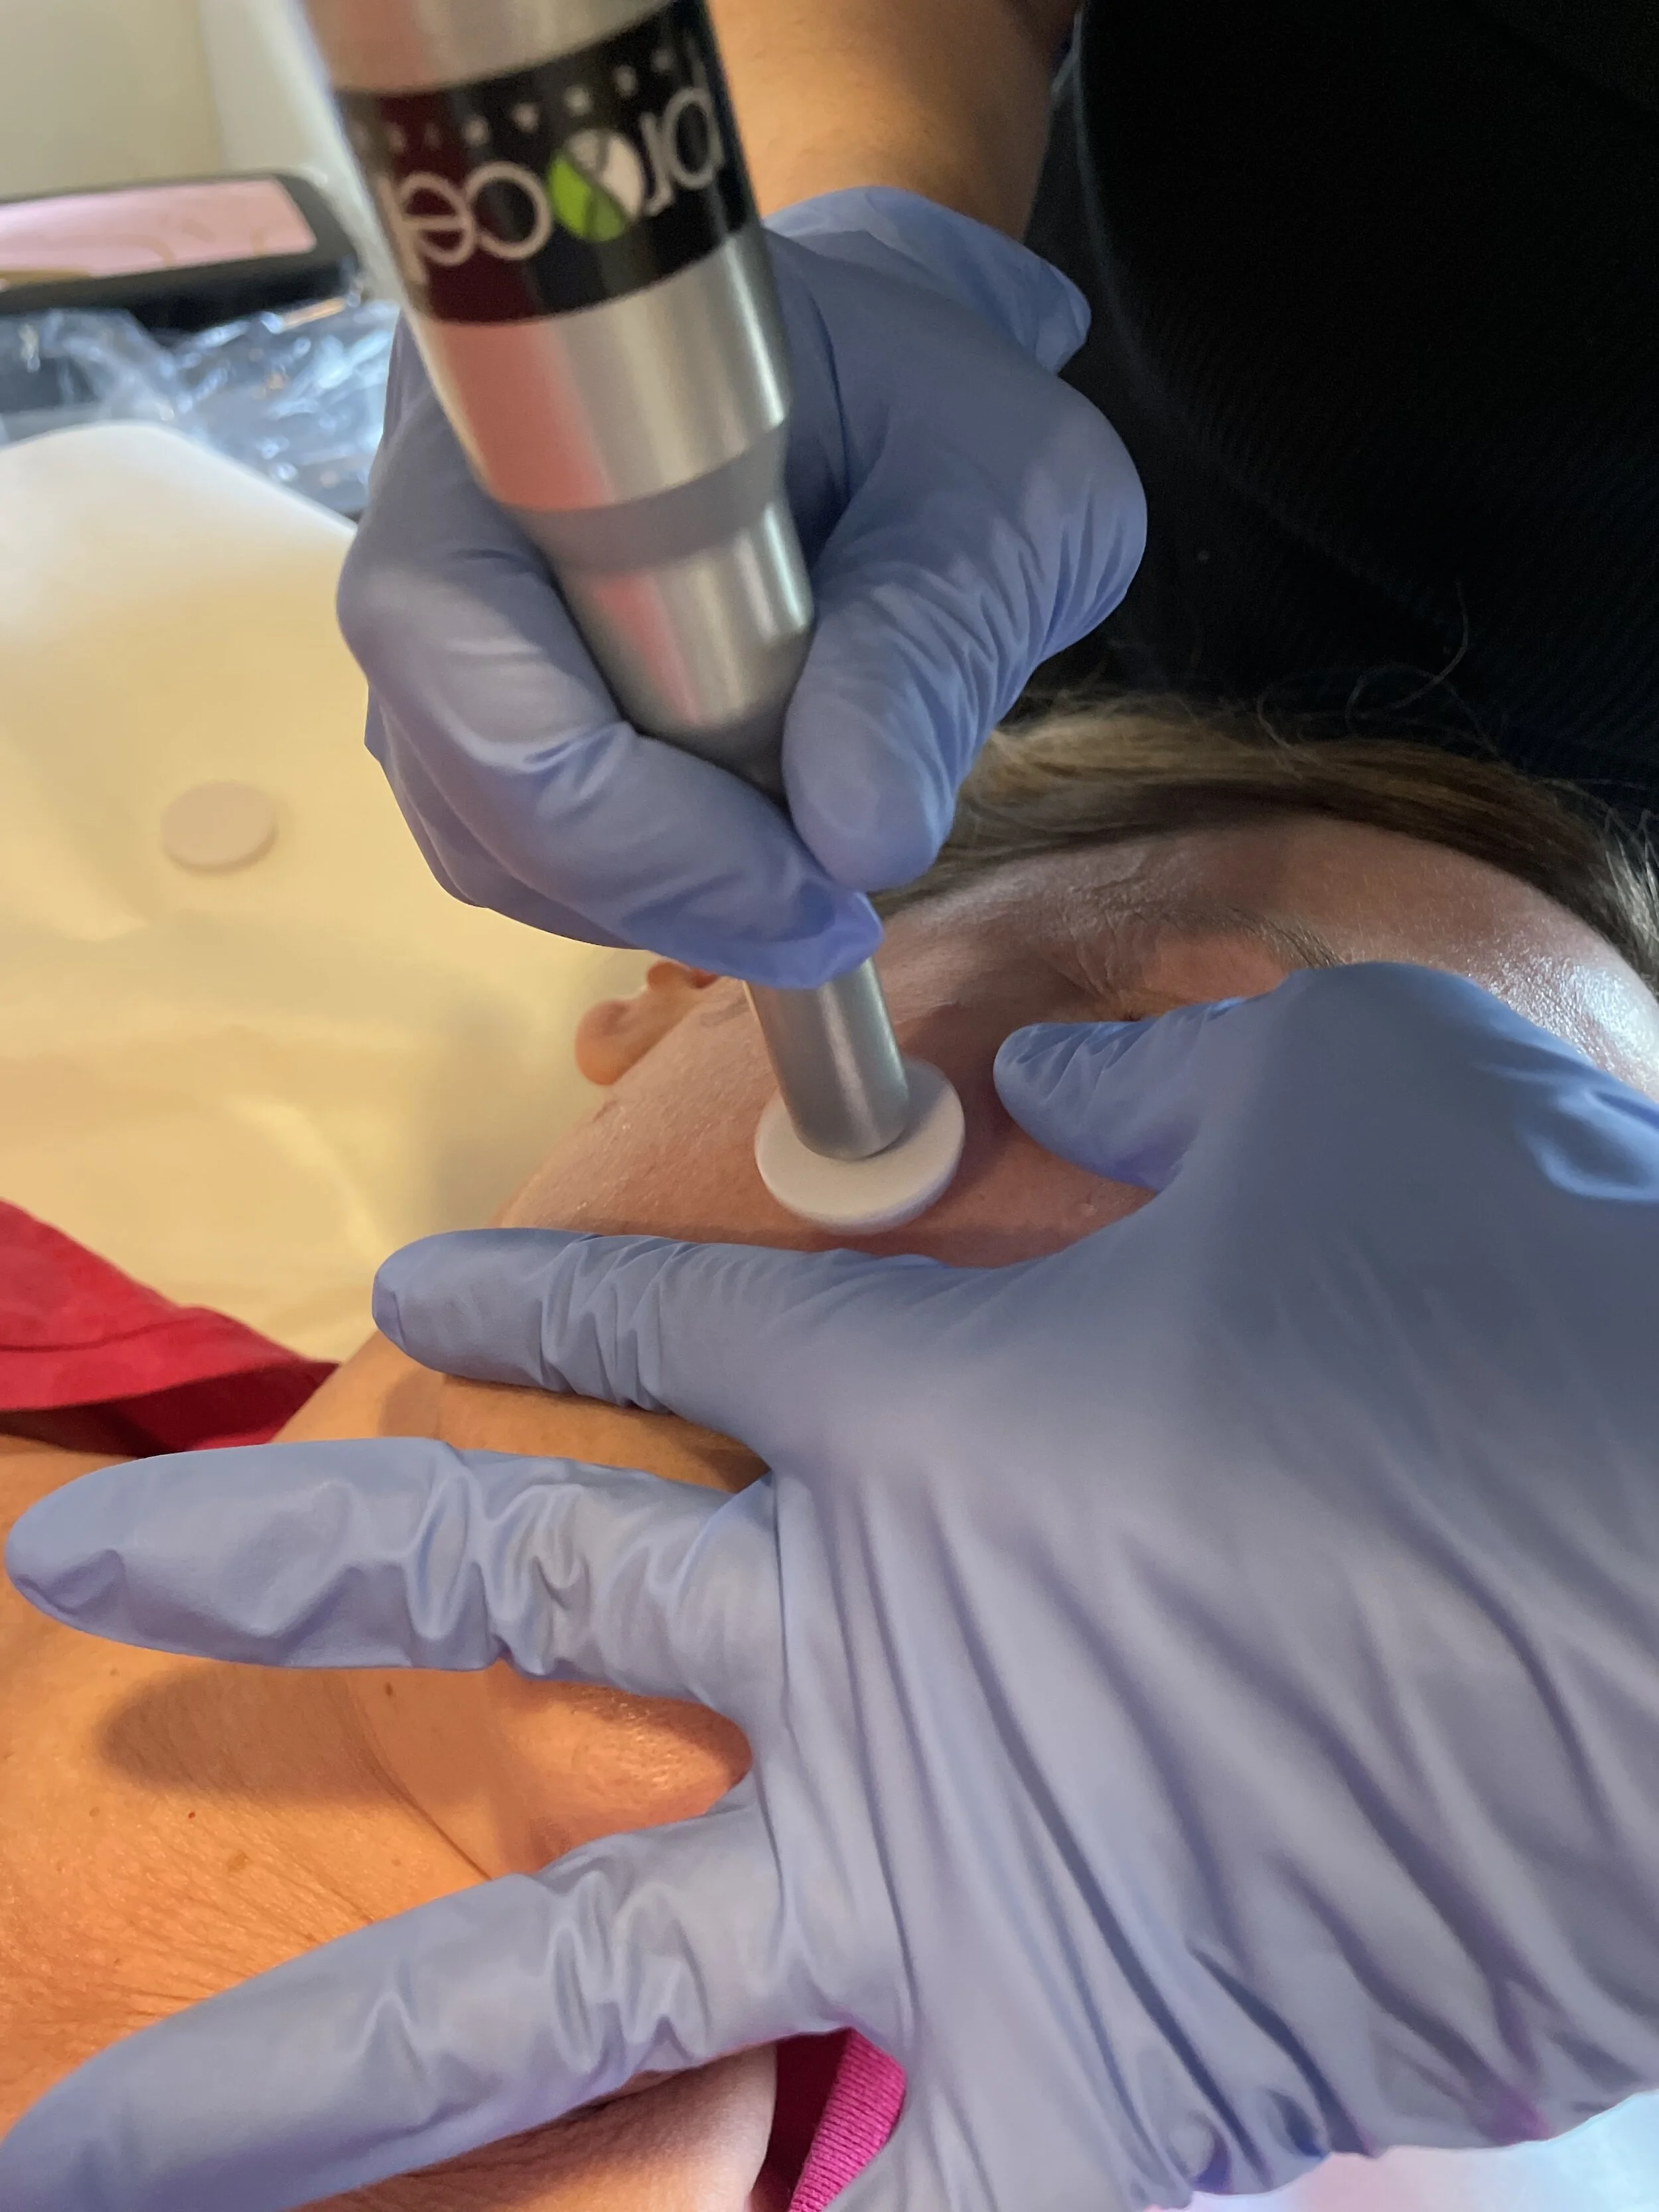
I’m ready to book, what do I need to know? 

LED Light Therapy can be added to any skin care session (Facial, Microchanneling, Peels, etc.). The LED device will be placed over your face for 30 minutes, leaving you feeling relaxed, glowing and enhancing the effects of your skin care treatment. Skin should also be free of clothing, makeup, or anything else that may deflect light away from the skin.

Lymphatic Detox Massage

Feeling sluggish, bloated? Or maybe you’ve just recovered from surgery or a vaccine injection. Perhaps you’ve just simply overindulged around the holidays and are looking for a simple way to give your body a detoxification boost. Whatever the reason, there’s no denying that Lymphatic Detox Massage is on the rise and for good reason.

A Lymphatic Detox Massage can support your detox pathways and help to filter out viral debris. It is great for autoimmune disease, acne, rosacea, sinusitis, chronic fatigue, fibromyalgia, chronic pain, lymes disease and constipation. It is also a wonderful technique for healthy individuals who are wanting to boost their immune function and feel their best.

What is a Lymphatic Detox Massage?

Lymphatic Detox Massage is a very specific technique that works on the lymphatic system by using systemic massage movements combined with sincere intuition. A rhythmic, gentle motion is used, in the direction of the lymph flow to encourage lymphatic movement. This lymphatic system plays a vital role in our health and is essential to our immunity. Unlike the cardiovascular system, your lymphatic system does not have a built-in pump — which is why the lymphatic system needs manual “draining” in order to keep the system humming optimally. When it slows, immune health is compromised.

A Lymphatic Detox Massage can encourage the circulation of lymphatic fluid through your body via pressure and motion, hence increasing detoxification and immunity. Although far from a ‘deep tissue’ massage, this modality can be incredibly effective and healing. The sweeping and rhythmic movements also encourage the response of the parasympathetic nervous system, where deep healing takes place.

Ways to promote Lymphatic Movement:

A good place to start is your physical health and diet. 

Exercise: Movement is great for your lymph nodes.

Eat A Healthier Diet: Consume plenty of fresh vegetables and fruits. This keeps your lymphatic system clean (along with the rest of your body). 

Drink Water: It helps your lymphatic system and other organs function properly. 

AVOID: Sugary drinks and sweets. These items overwork the system. 

Walking! Just a 10 minute walk in the fresh air will help to get the lymphatic system moving.

Hope to see you soon for your next immune boosting Lymphatic Detox Massage!

Jackie Lunato is devoted to helping her clients achieve optimum health and balance through a holistic approach to massage therapy, bodywork, energy healing and nutrition. A Licensed Massage Therapist since 2007, Jackie also holds certifications across a broad spectrum of fields including Reiki, Ayurvedic Bodywork, Healing Hot Stone Massage, Prenatal Massage, Aromatouch Technique (using DoTerra essential oils), and Lymphatic Drainage Detox massage. Book with Jackie on Mondays, Thursdays + Saturdays.

Microchanneling - results you want without the downtime.

What is Microchanneling?

IMG_6685.jpg

Microchanneling is an evolved and improved upon version of microneedling. It is a non-invasive, pain-free procedure designed to stimulate your body’s natural ability to generate collagen, elastin and other building blocks to create smoother, firmer skin. It’s an incredibly effective treatment for acne scars, skin tone, wrinkles, fine lines and hair loss - without the downtime.

Microchanneling creates tiny perforations in the skin called micro-channels. These micro-channels naturally elicit a healing cascade in your skin, which produces new collagen and elastin resulting in firmer, healthier skin. In essence, we are tricking your skin into thinking it’s been wounded. Over time, the repeated healing process will build new collagen, creating healthier skin, improving the surface texture and the overall appearance of the skin. In addition, these micro-channels act as a delivery system allowing for the deepest absorption of the stem cell rejuvenating serum which boosts the effects of your session and accelerates your results.

Ideal candidates are those who seek improvement in the following areas:

  • Acne scars

  • Fine lines and wrinkles

  • Anti-aging or skin tightening

  • Hyperpigmentation (sun spots)

  • Pore size reduction

  • Rosacea

  • Stretch marks or other traumatic scarring

  • Hair growth

Before and After 6 Monthly Procell Treatments

Before and After 6 Monthly Procell Treatments

Microchanneling vs. Microneedling

The main differences between microchanneling and microneedling are the type of device used to perform the treatment and the technique that is used. A microneedling device involves the use of a handheld roller covered in tiny needles which is dragged over the skin. This method can actually tear the skin.

Instead, the microchanneling device encompasses a linear stamping technique, resulting in clean, consistent micro-channels. This reduced tissue damage results in reduced inflammation and substantially decreased discomfort for clients. Reduced inflammation means less downtime. Typical downtime after a microchanneling treatment is 60-90 minutes, compared to days of downtime with microneedling.

Frequently Asked Questions

Q: Does it hurt?

A: With minimal physical discomfort, most clients are able to do the procedure without numbing cream and without any noticeable pain. There is no lingering discomfort. Most people report feeling ‘tight’ and ‘warm’ in their skin after the treatment.

Q. What is the downtime?

A: Your skin may appear red for a period of 4-24 hours after your treatment. After 90 minutes you can apply moisturizer and make-up.

Q: How long before I start to see results?

Before and After 4 Monthly Procell Treatments

Before and After 4 Monthly Procell Treatments

A: Neocollagenesis (the production of new collagen) can take several weeks, but it is not abnormal to notice an improvement in the quality and appearance of your skin within the first 24 hours. After 2-3 treatments a thicker more robust, collagen filled cellular matrix will produce more consistent and noticeable improvement. And 6 or more treatments may be recommended for scarring, laxity and deep wrinkles.

Q: Who is not an ideal candidate for microchanneling?

A: If you have any underlying condition that significantly impairs your immune system, it is a good idea to avoid microchanneling including radiation or chemotherapy, uncontrolled diabetes, chronic inflammatory skin disease, Accutane in the past 2 years, hemophilia or similar bleeding disorder. Anyone with stainless steel allergies should not do this treatment. Pregnant or nursing women are not recommended for microchanneling.

While you will notice great results with one session of Microchanneling, a series of 3 or 6 is recommended for best results. Series are offered at a discounted rate and scheduled once/month.

How To Use Your Gua Sha

Considering Gua Sha was one of our best sellers in the Wellness Shop over the last year, we assume you are familiar with it. If you are not, Gua Sha is an ancient tool that is used in Chinese Medicine to move stagnant blood. In the last few years, the use of Gua Sha on the face has become one of the fastest growing skin care trends. Gua Sha increases circulation and blood flow in the face by 400% and that alone is reason to give this little tool some massive attention.

Benefits:

  • smooths out fine lines and drainage of lymph fluid

  • clears clogged pores

  • promotes radiant skin

  • improves blood circulation

  • reduces stress

  • evens skin tone

  • lifts and firms saggy skin

  • reduces dark circles and puffy eyes

  • enhances absorption of nutrients

  • decreases tension in jaw

  • releases stored emotions in face

Before You Begin:

  • start your gua sha with a clean face. Apply a small amount of facial oil, so you don’t pull the skin.

  • you’ll want to keep your pressure somewhere between light-medium and your speed moderately slow.

  • all movements should be upward, so as to suggest a ‘lift’ to the face.

  • strokes should be from the center of your face, outwards towards your hairline.

  • hold your gua sha almost flat to your face, about a 15 degree angle.

Start At Your Neck: If you have tension in your face, you have tension in your neck. Using upward strokes, start on the sides of your neck and move towards the center.

Sweep The Jaw: Your jaw line stores a lot of emotion - sweep your jaw line with 5 strokes on each side, holding the skin by placing a finger on your chin.

Sweep The Mouth: Holding a finger next to your mouth, sweep out from your mouth. 5 strokes each side.

Sweep The Cheeks: Place a finger next to your nose and sweep under your cheekbones. If you suffer from any sinus issues, you’ll want to spend a little extra time here.

Sweep between your Eyebrows: Using gentle pressure and upward stokes between your eyebrow, aka the third eye. This should feel very soothing and help decrease your ‘frown lines’.

Sweep Your Eyebrow: Using gentle pressure, follow your eyebrow line out towards your hairline.

Sweep Up on your Forehead: Gently holding the skin above your eye, sweep up your forehead towards your hairline. You don’t have to stop at your hair. Using the Gua Sha on your scalp feels amazing and has many stress relieving benefits as well.

Consistency is key and once you start seeing and feeling the results you won’t want to miss your daily gua sha!

Founder, Beth Warner, demonstrates a Gua Sha session in the video below. Although we made this video on Hyperlapse for fun, remember you want the speed of your Gua Sha session to be slow and methodical.

DIY At-Home Facial with Esthetician, Vanessa Everett

This is an easy 3 step DIY facial that you can do right in your own kitchen! Remove dead cells and moisturize your skin with some simple pantry items. It’s a great little self-care pick me up for when you can’t get in to see your favorite Esthetician. Always remember that what goes on your body, goes in your body, so don’t use any ingredients that you may have a reaction to.

A couple things to have ready:  

  • A few towels

  • Cleanser and toner (A toner is used to rebalance the skins pH and allow for better product absorption, but you can still do the facial without it.  Witch hazel can also be used as a facial toner.)

  • Large pot of freshly boiled water (few drops of essential oil or flower essence optional)

Homemade Facial Exfoliating Scrub:

  • ½ tablespoon cornmeal

  • 1 tablespoon raw honey

  • 1-2 drops essential oil (optional)

*Distilled water can be added to improve consistency.  Finely ground sugar can be substituted for cornmeal and some kitchen oils like coconut or grapeseed can be used instead of honey.  It’s important not to use anything abrasive.

mask.jpg

Homemade Facial Mask:

  • 1 tablespoon finely ground oats (you can use a mortar and pestle or a food processor)

  • 1 tablespoon plain yogurt (0% Greek yogurt works well)

  • 1-2 drops essential oil (optional)

Step 1:  Cleanse.  To begin your facial, give your skin a thorough double cleanse with your favorite cleansers.  The first cleanse is to remove any makeup or debris from the skin.  The second cleanse is to really get in there and cleanse the skin.  Pat skin dry with a towel and tone.

Step 2:  Exfoliate.  After cleansing, steam the face to open your pores and increase circulation.  Simply placing your face over a pot of freshly boiled water will do the trick.  I like to drape a towel over my head as well to trap the steam, but it’s not essential.  After 1-2 minutes, apply your homemade facial scrub using your fingertips in gentle, circular motions.  Gently massage for at least 30 seconds.  Return your face to the steam for 3-5 minutes.  Remove scrub with warm water.  Pat skin dry with a towel and tone.

Step 3:  Mask:  Apply your homemade mask using your fingertips.  Leave the mask on for 15-20 minutes and remove with lukewarm water and a washcloth.  Pat skin dry and apply your favorite serums and/or moisturizer.

*Remember the Wellness Shop is open, so if you’re running low on your favorite skin care product, we are offering at home deliveries or curbside pick-up.

I hope this serves you well and I look forward to seeing you all again soon!

-Vanessa